Installing a database using Database Configuration Assistant's (DBCA) graphical & interactive mode is quite simple. It's just like installing any other software but here you must take few decision when going through different screens. I'll talk about it with each snap below where needed.
Interactive method seems easier but is time consuming, as you grow experienced, you'll realize that using script to create database via Silent installation method is more convenient & faster.
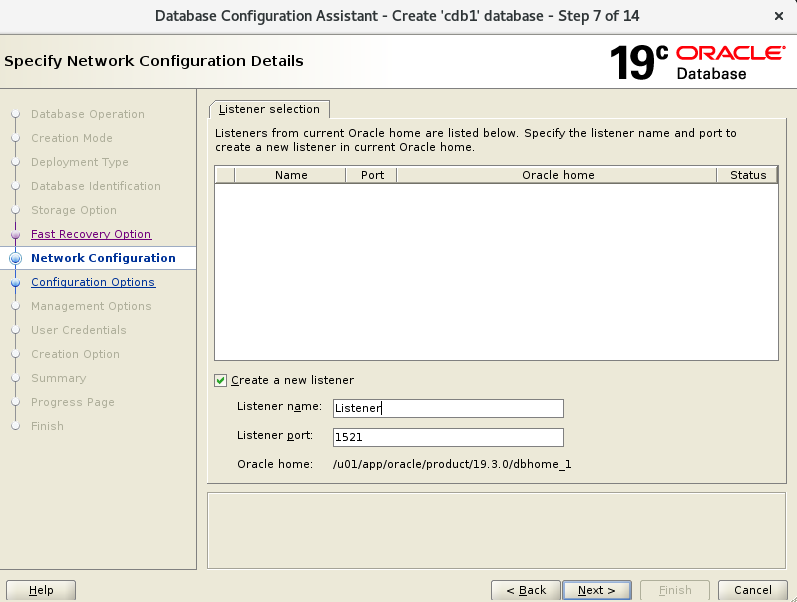
Follow below steps to install database using DBCA's interactive mode.
1) Run DBCA from '$ORACLE_HOME/bin" location via ORACLE user.
[oracle@oravm19c ~]$ cd $ORACLE_HOME/bin
[oracle@oravm19c bin]$ ls dbca*
dbca
[oracle@oravm19c bin]$ ./dbca
Note: For any issue with DISPLAY not opening, check my post - How to fix DISPLAY issue when installing Oracle Database Software?
2) Select option to 'Create Database'.


Post Installation Checks:
[oracle@oravm19c bin]$ . oraenv
ORACLE_SID = [cdb1] ?
The Oracle base remains unchanged with value /u01/app/oracle
[oracle@oravm19c bin]$
[oracle@oravm19c bin]$
[oracle@oravm19c bin]$ sqlplus / as sysdba

SQL*Plus: Release 19.0.0.0.0 - Production on Sat Jan 11 10:39:29 2025
Version 19.3.0.0.0

Copyright (c) 1982, 2019, Oracle.  All rights reserved.


Connected to:
Oracle Database 19c Enterprise Edition Release 19.0.0.0.0 - Production
Version 19.3.0.0.0

SQL> select name, open_mode from V$database;

NAME	  OPEN_MODE
--------- --------------------
CDB1	  READ WRITE

SQL> show pdbs;

    CON_ID CON_NAME			  OPEN MODE  RESTRICTED
---------- ------------------------------ ---------- ----------
	 2 PDB$SEED			  READ ONLY  NO


[oracle@oravm19c bin]$ lsnrctl status

LSNRCTL for Linux: Version 19.0.0.0.0 - Production on 11-JAN-2025 10:47:25

Copyright (c) 1991, 2019, Oracle.  All rights reserved.

Connecting to (DESCRIPTION=(ADDRESS=(PROTOCOL=TCP)(HOST=oravm19c.practice.com)(PORT=1521)))
STATUS of the LISTENER
------------------------
Alias                     LISTENER
Version                   TNSLSNR for Linux: Version 19.0.0.0.0 - Production
Start Date                11-JAN-2025 10:22:15
Uptime                    0 days 0 hr. 25 min. 10 sec
Trace Level               off
Security                  ON: Local OS Authentication
SNMP                      OFF
Listener Parameter File   /u01/app/oracle/product/19.3.0/dbhome_1/network/admin/listener.ora
Listener Log File         /u01/app/oracle/diag/tnslsnr/oravm19c/listener/alert/log.xml
Listening Endpoints Summary...
  (DESCRIPTION=(ADDRESS=(PROTOCOL=tcp)(HOST=oravm19c.practice.com)(PORT=1521)))
  (DESCRIPTION=(ADDRESS=(PROTOCOL=ipc)(KEY=EXTPROC1521)))
Services Summary...
Service "86b637b62fdf7a65e053f706e80a27ca.practice.com" has 1 instance(s).
  Instance "cdb1", status READY, has 1 handler(s) for this service...
Service "cdb1.practice.com" has 1 instance(s).
  Instance "cdb1", status READY, has 1 handler(s) for this service...
Service "cdb1XDB.practice.com" has 1 instance(s).
  Instance "cdb1", status READY, has 1 handler(s) for this service...
The command completed successfully
As you can see, my database is successfully created and is in READ WRITE mode, there are no PDBs except for SEED PDB which can be used further to created PDBs anytime. Also my listener is configured properly and ready to serve connections to CDB1's instance.
I hope this helps !!
No comments:
Post a Comment